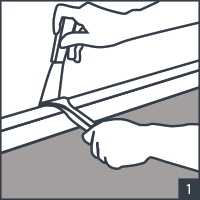
1. Step
Please remove the legging of the application room before deciding what type of flooring you should buy. You should add 10% of cut share for the dimensions you measured.

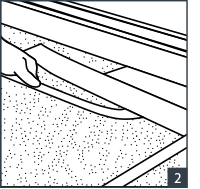
2. Step
If necessary, remove the former flooring. If the current flooring surface is smooth and firm, you can skip this step.

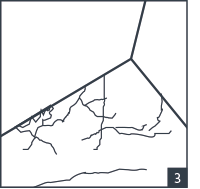
3. Step
You should fill the cracks and holes of the sub-flooring with a filling material. For this step, fill the gaps with a filling material and then level using a spatula.

4. Step
Plates should be applied as parallel to the wall within general view (generally, the wall opposite the entry). You should take measurements in order to determine the central point of application room. Adjust the plates so as to divide them equally to both sides.

5. Step
Please apply adhesive material with a recommended notched trowel. Please use recommended adhesive materials and comply with the instructions of products. Please wait as long as specified by the manufacturer of adhesive material before applying flooring plates.

6. Step
You are required to apply the first plate as evenly as possible starting with the central line. Because the following plates will be applied according to the alignment of the first plate.
Assembly Methods

Click Assembly
Click; Easy to assemble - can be disassembled, the installation process is clean, quiet and short-lived. Provides a unique silence while living and practicing.
Review
Dryback Assembly
Dry back; It provides a clean and dust-free installation. You can create decorative patterns and warm floor combinations using a combination of different models.
Review
Click Assembly
Click; Easy to assemble - can be disassembled, the installation process is clean, quiet and short-lived. Provides a unique silence while living and practicing.
Review
Dryback Assembly
Dry back; It provides a clean and dust-free installation. You can create decorative patterns and warm floor combinations using a combination of different models.
Review